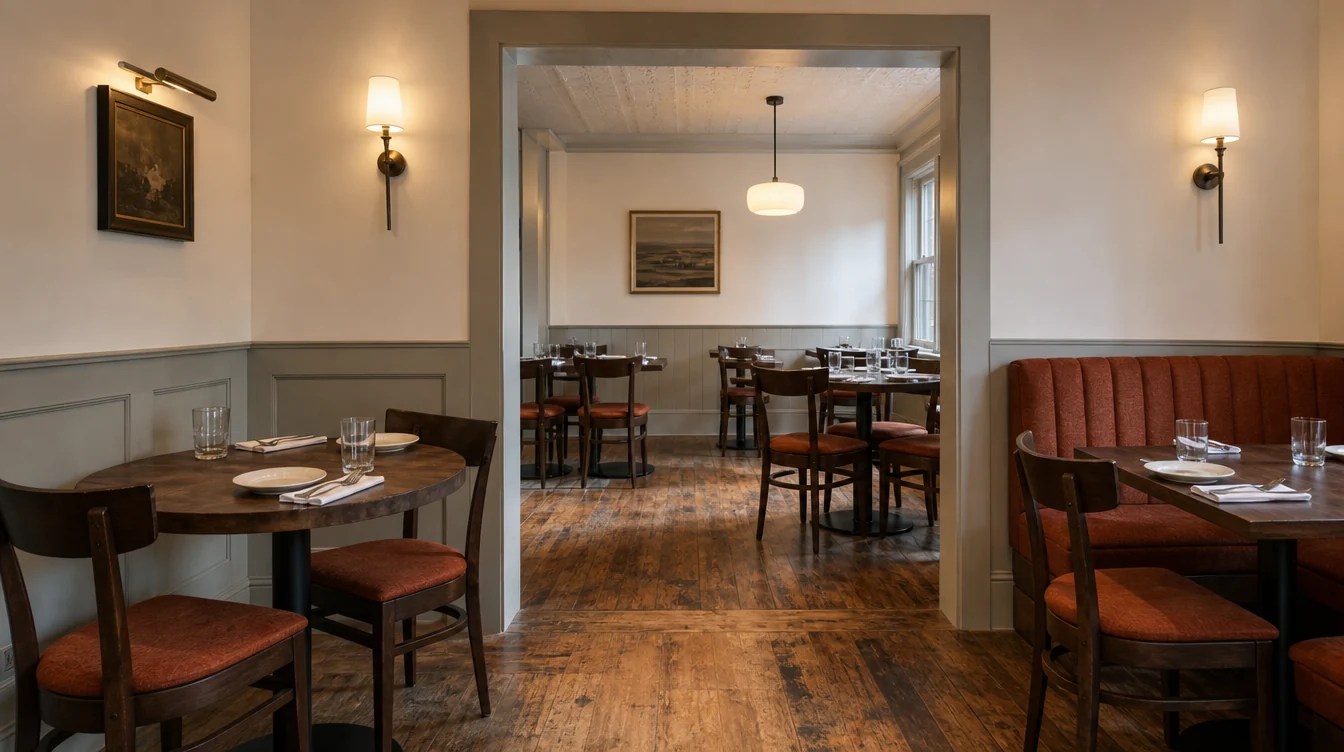
Treat each small room as a complete furniture group.
A Virginia restaurant spread across connected rooms benefits from a furniture schedule for each space. A chair that suits the largest room may need a separate review at a compact table elsewhere. Record the measured routes, the furniture that stays and the role of each room before repeating one selection throughout the project.
01 / THE FURNITURE PLAN
Give every room its own identifier.
Use simple names that the operator and receiving team can recognize. Put the table types, loose-chair quantities and fixed seating for that room on one schedule. Where rooms connect, show the relationship on the plan. This makes the request easier to price and keeps a change in one room from silently altering another.
02 / THE FURNITURE PLAN
Review chairs at the smallest table group.
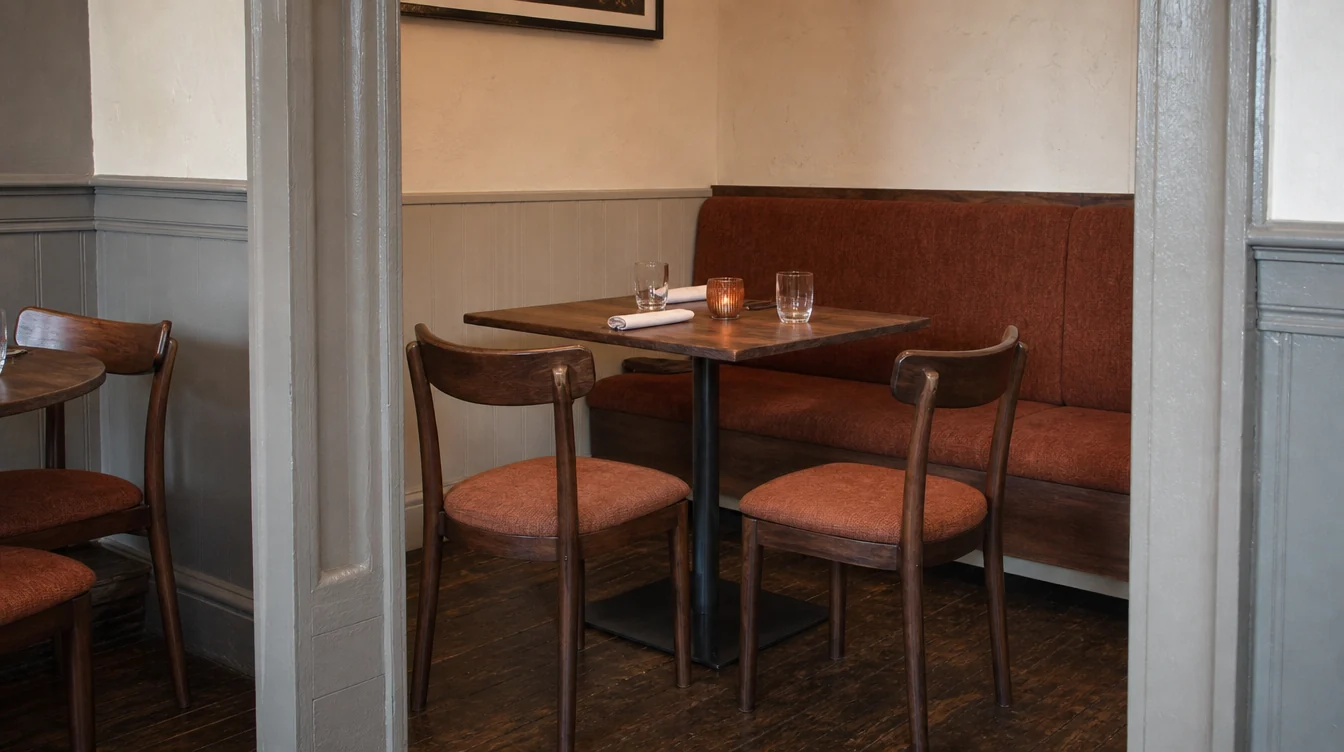
Check the proposed chair against each table size, starting with the group that has the tightest furniture relationship. Compare actual widths, the table apron and the leg or base positions. Review how staff pull out and return a chair in the intended arrangement before treating one model as a whole-restaurant choice.
03 / THE FURNITURE PLAN
Keep the table footprint visible.
A table schedule should identify the complete top-and-base arrangement, including retained parts. Compare the shape and dimensions with the intended chair positions. For tables that may be combined, draw that arrangement separately. A list of tabletop sizes alone leaves important decisions about the finished furniture group unresolved.
04 / THE FURNITURE PLAN
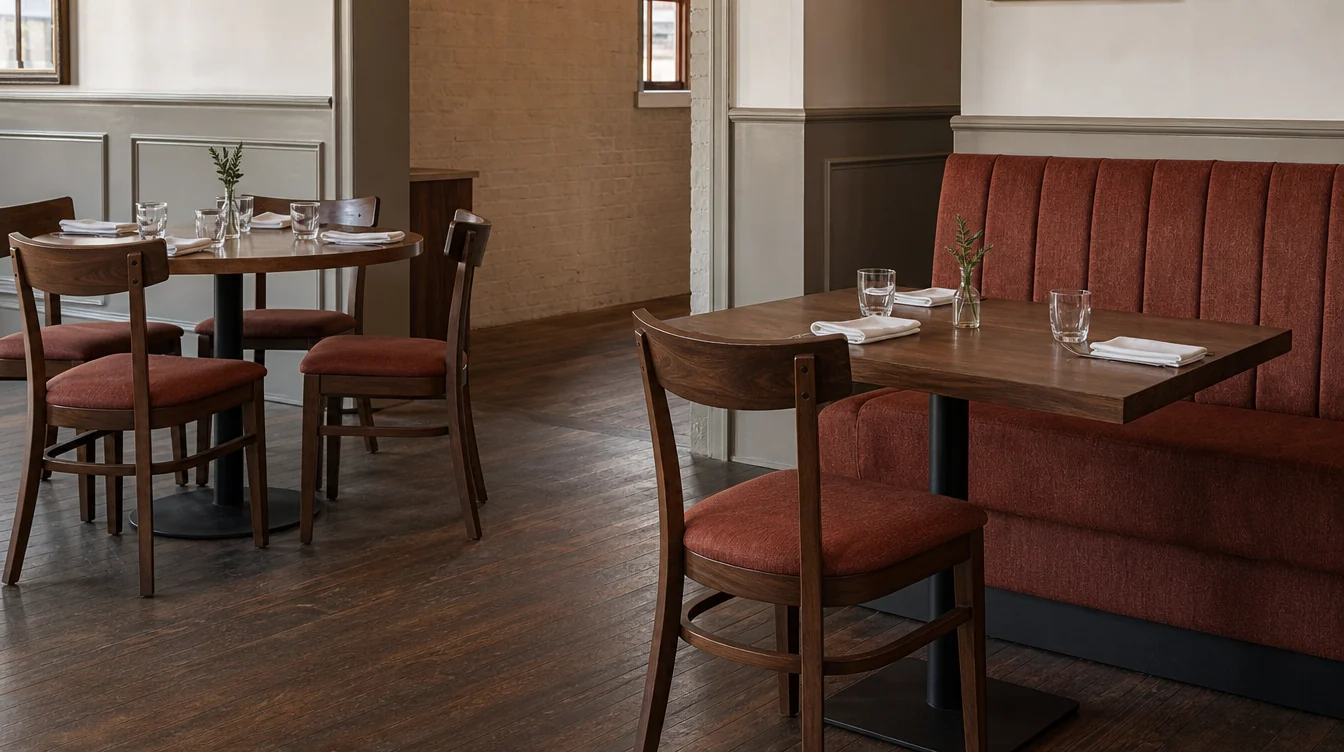
Specify the wall-seating group separately.
If one room uses a banquette or booth, record the complete group with its dimensions and table relationship. Keep loose chairs opposite that group in the chair schedule. Ask which measurements, mounting details or site information are needed to develop the fixed-seating scope before adding a quantity to the proposal.
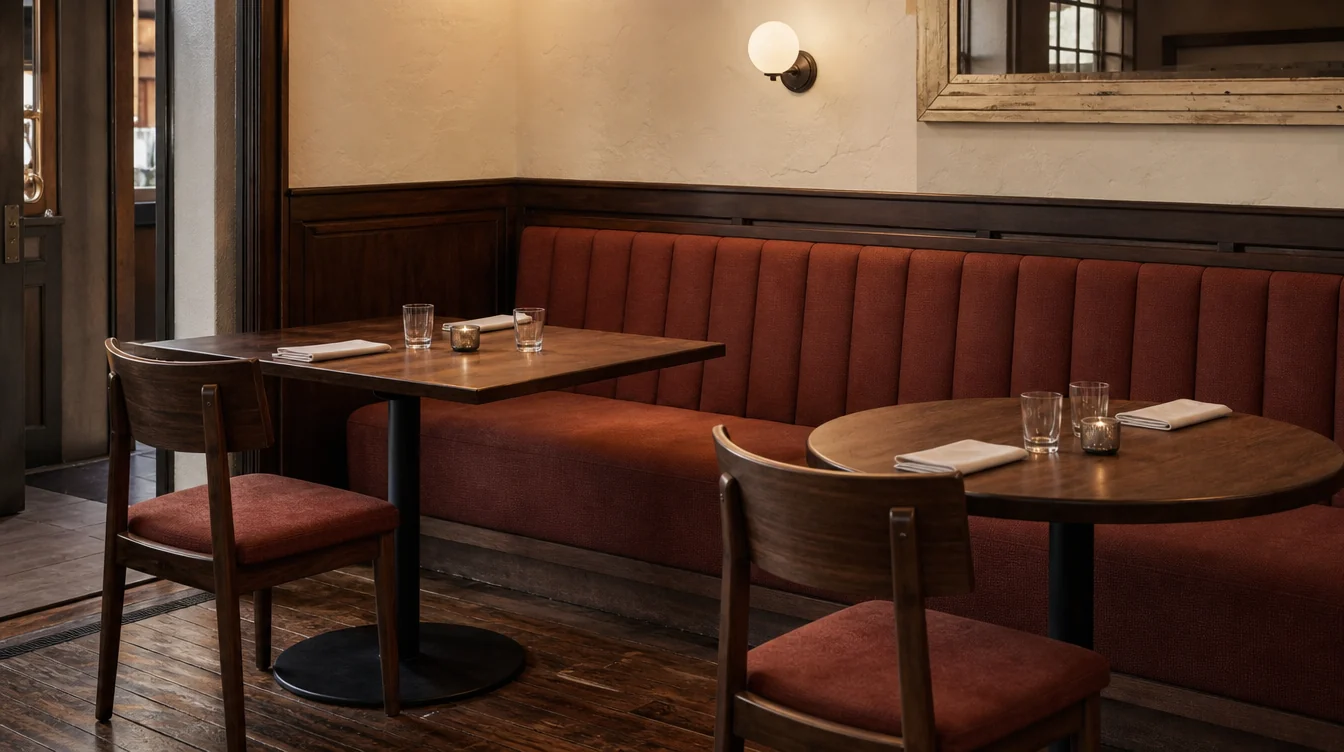
05 / THE FURNITURE PLAN
Measure the route to each room.
Record the actual entrance, turns, openings and changes of level the furniture must pass through. Provide photographs alongside measurements and identify which room lies beyond each restriction. Ask about packaged dimensions and handling responsibilities for the proposed items. Keep this practical access review attached to the furniture schedule.
06 / THE FURNITURE PLAN
Coordinate finishes without flattening the room plan.
Use samples to establish the intended relationship between rooms while retaining the specific furniture choices each room needs. Note which finishes should repeat and where a different configuration is being considered. Send the Virginia location and a first room photo to begin, then add the room schedules during follow-up.
A WORKED FURNITURE EXAMPLE
Furniture for connected dining rooms — a quantity example
A small dining room is planned around 24 loose chairs. The operator chooses two extra pieces and retains six compatible chairs, giving a preliminary purchase of 20. A separate banquette group is measured independently. The next room receives its own schedule rather than being estimated from this room’s chair count.
| Planning item | Quantity |
|---|---|
| Working loose chairs in room one | 24 |
| Chosen extras | 2 |
| Compatible chairs retained | −6 |
| Preliminary room-one purchase | 20 |