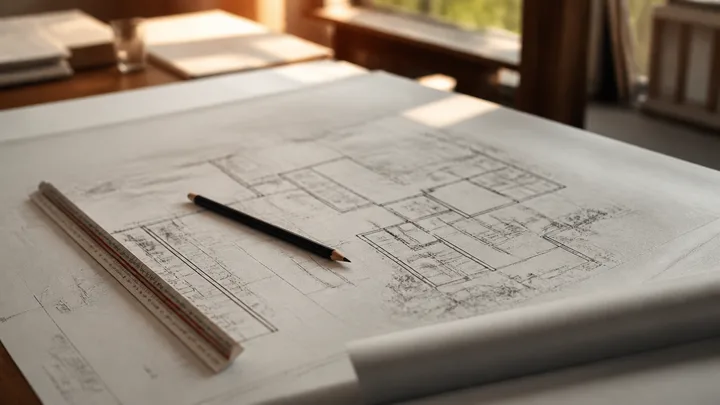
Your restaurant floor plan decides how many guests you can serve, how fast your staff can move, and whether the room feels comfortable or cramped. It is one of the few decisions that is expensive to change after the concrete is poured and the plumbing is set, so it pays to get the zones and the flow right on paper first. This guide covers the space split, the core zones, guest and staff flow, accessibility rules, and layout ideas by concept.
Check the receiving route as carefully as the dining-room footprint. The New York furniture-and-access brief connects the chairs, tables and booths with the space they must reach.
Start with the front of house and back of house split
Every plan begins with one number: how much of your total square footage goes to guests versus the kitchen. The common rule of thumb is a 60/40 split, roughly 60 percent for the front of house (dining, bar, waiting area, restrooms) and 40 percent for the back of house (kitchen, prep, storage, dish, staff areas). Industry guides like Lightspeed's floor plan overview use the same starting point.
That ratio is a default, not a law. A high volume kitchen with a complex, made from scratch menu may need closer to a 50/50 split, while a fast casual spot with a simple line and heavy takeout can push the dining room to two thirds of the space. Let your menu complexity and service model set the number, then defend it.
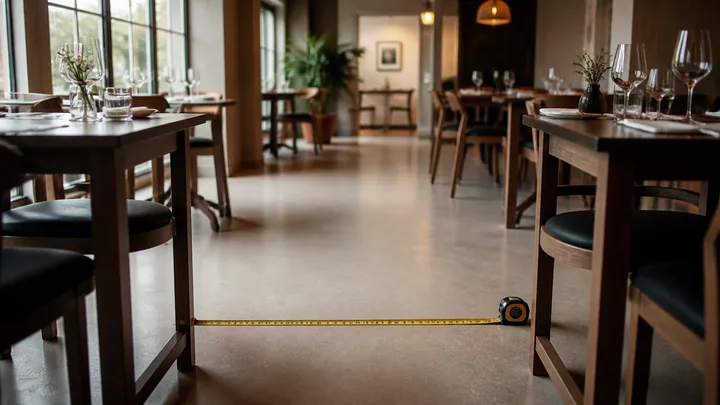
The zones every plan needs
Think of the floor plan as a set of connected zones rather than one open box. A complete plan accounts for:
- Entry and waiting area. The first six feet set the tone. Leave room for a host stand, a small queue, and a clear sightline into the dining room.
- Dining room. Your revenue engine. This is where seating capacity, table mix, and aisles get decided.
- Bar. A revenue center and a waiting zone. Even a small service bar changes traffic patterns, so place it deliberately.
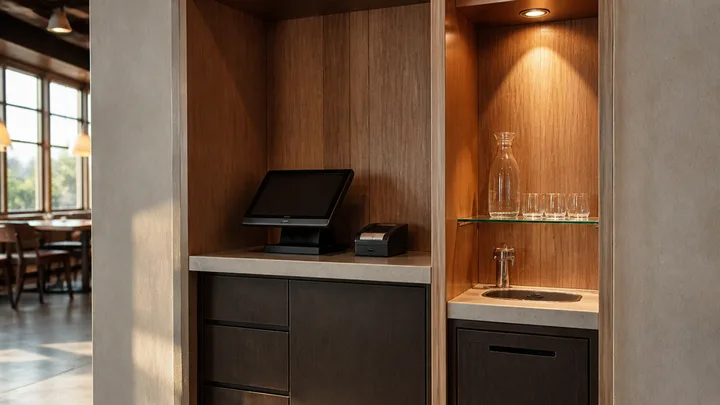
- Service stations. Points of sale, water, and expo need to sit close to the dining sections they serve so servers are not crossing the whole room.
- Kitchen and prep. The line, cold and hot stations, prep tables, and the pass. Design for a logical flow from storage to prep to cook to plate.
- Storage. Dry, cold, and frozen, plus a receiving path from the back door.
- Restrooms. Placed for guest access without cutting through the kitchen, and built to code.
TouchBistro's collection of floor plan examples is a useful way to see how these zones fit together across different restaurant types.
Design the guest journey
Walk the plan the way a guest will. They enter, pause at the host stand, get walked to a table, visit the restroom at some point, and leave past the register or host stand. Each step should feel natural and never force a guest through a working zone.
Two rules matter most. First, keep the entry from dumping guests straight into a seated diner's lap; a short transition space or host stand solves this. Second, never route guests through the kitchen or past the dish pit to reach a restroom. If your existing shell forces an awkward path, a partial wall, a screen, or a shift in the host stand can redirect it.
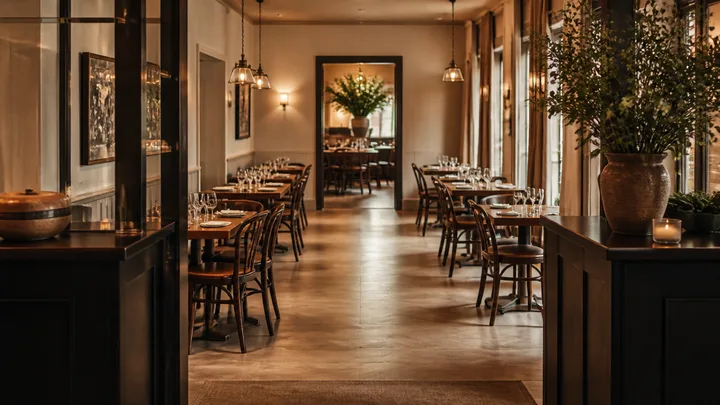
Design the staff journey too
Servers and food runners cover more steps in a shift than anyone. Short, direct paths from the pass to the tables protect food temperature and table turn times. Place service stations so no server crosses the entire room to grab water or ring in an order. Keep the runner path from the kitchen pass to the dining sections clear and free of pinch points where two people cannot pass.
In the back of house, arrange the line so product flows in one direction: receiving to storage to prep to cook to plate to pass. Every time a cook has to backtrack, you lose seconds that add up across a service.
Build accessibility in from the start
Accessibility is a legal requirement, not a nice to have, and retrofitting it later is costly. The 2010 ADA Standards for Accessible Design require an accessible route to all dining areas, including raised, sunken, and outdoor sections. Key points to design around:
- An accessible route connecting the entrance, dining areas, and restrooms
- At least 5 percent of dining surfaces accessible, distributed through the room rather than clustered in one corner
- Accessible dining surfaces between 28 and 34 inches high with knee and toe clearance underneath
- Aisles and routes wide enough for a wheelchair, generally at least 36 inches of clear width
Get these into the plan now. The detailed aisle and clearance numbers live in the table spacing and layout guide.
Layout ideas by concept
Different concepts call for different room shapes.
- Fine dining. Fewer, larger tables, wide aisles, and generous spacing for privacy and quiet service. Expect lower seat density in exchange for higher checks.
- Casual full service. A balanced mix of two tops, four tops, and a few booths against the walls, with a modest bar. Booths on the perimeter and tables in the center is the workhorse layout.
- Fast casual. An efficient order and pickup counter near the entry, a mix of communal and small tables, and a design that supports heavy takeout without clogging the dine in flow.
- Bar forward. The bar anchors the room and doubles as the waiting area, with high tops and rails filling the space around it.
Perimeter booths with a field of movable tables in the middle is a reliable pattern because booths use space efficiently and movable tables let you combine seats for larger parties.
Common floor plan shapes
Most dining rooms resolve into one of a few workable shapes, and knowing them speeds your first sketch.
- Perimeter and center. Booths and banquettes line the walls while movable tables fill the middle. This is the most common casual layout because booths use wall space efficiently and center tables flex for group size.
- Open plan. A single large room with the kitchen partly visible. It feels lively and lets a small team watch the whole floor, but it offers little sound control, so it suits fast casual and bar concepts more than fine dining.
- Zoned rooms. Separate areas for bar, main dining, and private or quiet seating. This gives you flexible sections for different party types and dayparts, at the cost of some circulation space.
- Counter forward. The order or chef counter anchors the room, with seating wrapped around it. Common for quick service, ramen, sushi, and chef driven concepts.
Sketch two or three shapes for your space before committing, because the same square footage can feel completely different depending on how you carve it.
Design the kitchen flow
The back of house deserves the same care as the dining room. Arrange the line so product moves in one direction from receiving to dry and cold storage, then to prep, then to the cook line, then to the pass. Keep the dish return path away from clean plating so dirty and clean never cross. Station the expo window where a manager can see both the line and the dining room. A kitchen that flows in one direction keeps cooks from colliding during a rush and protects both food safety and ticket times.
Turn the layout into a seat count
A floor plan is only finished when you know how many guests it holds. Seat count drives revenue, staffing, and restroom sizing, and it depends on both your square footage and your table mix. Once your zones are set, run the numbers using the method in how to calculate restaurant seating capacity, then pressure test the aisles and table gaps with the table spacing and layout guide.
Tips before you commit the plan
- Measure the real shell. Columns, existing plumbing, gas lines, and the electrical panel location all constrain the plan. Design around what exists.
- Kitchen first, then seats. The kitchen footprint is hard to shrink later. Size it for the menu, then lay out the dining room in the space that remains.
- Model peak service, not average. A plan that works on a slow Tuesday can jam on a Friday night. Walk the busiest scenario.
- Get a pro to stamp it. A restaurant designer or architect familiar with local building and health codes will catch problems a sketch cannot.
A strong floor plan quietly earns money every service by fitting more of the right guests into a room they enjoy sitting in. Sketch it, walk it, and revise it before construction, because paper is cheap and drywall is not.
For the wider path from concept to opening, see the main guide on how to open a restaurant, and when the buildout nears completion, run through things to do before opening a restaurant.
If the dining room will host private events, test a separate event layout with Banquet Blueprint's event floor-plan guide before fixing the table mix.